Information
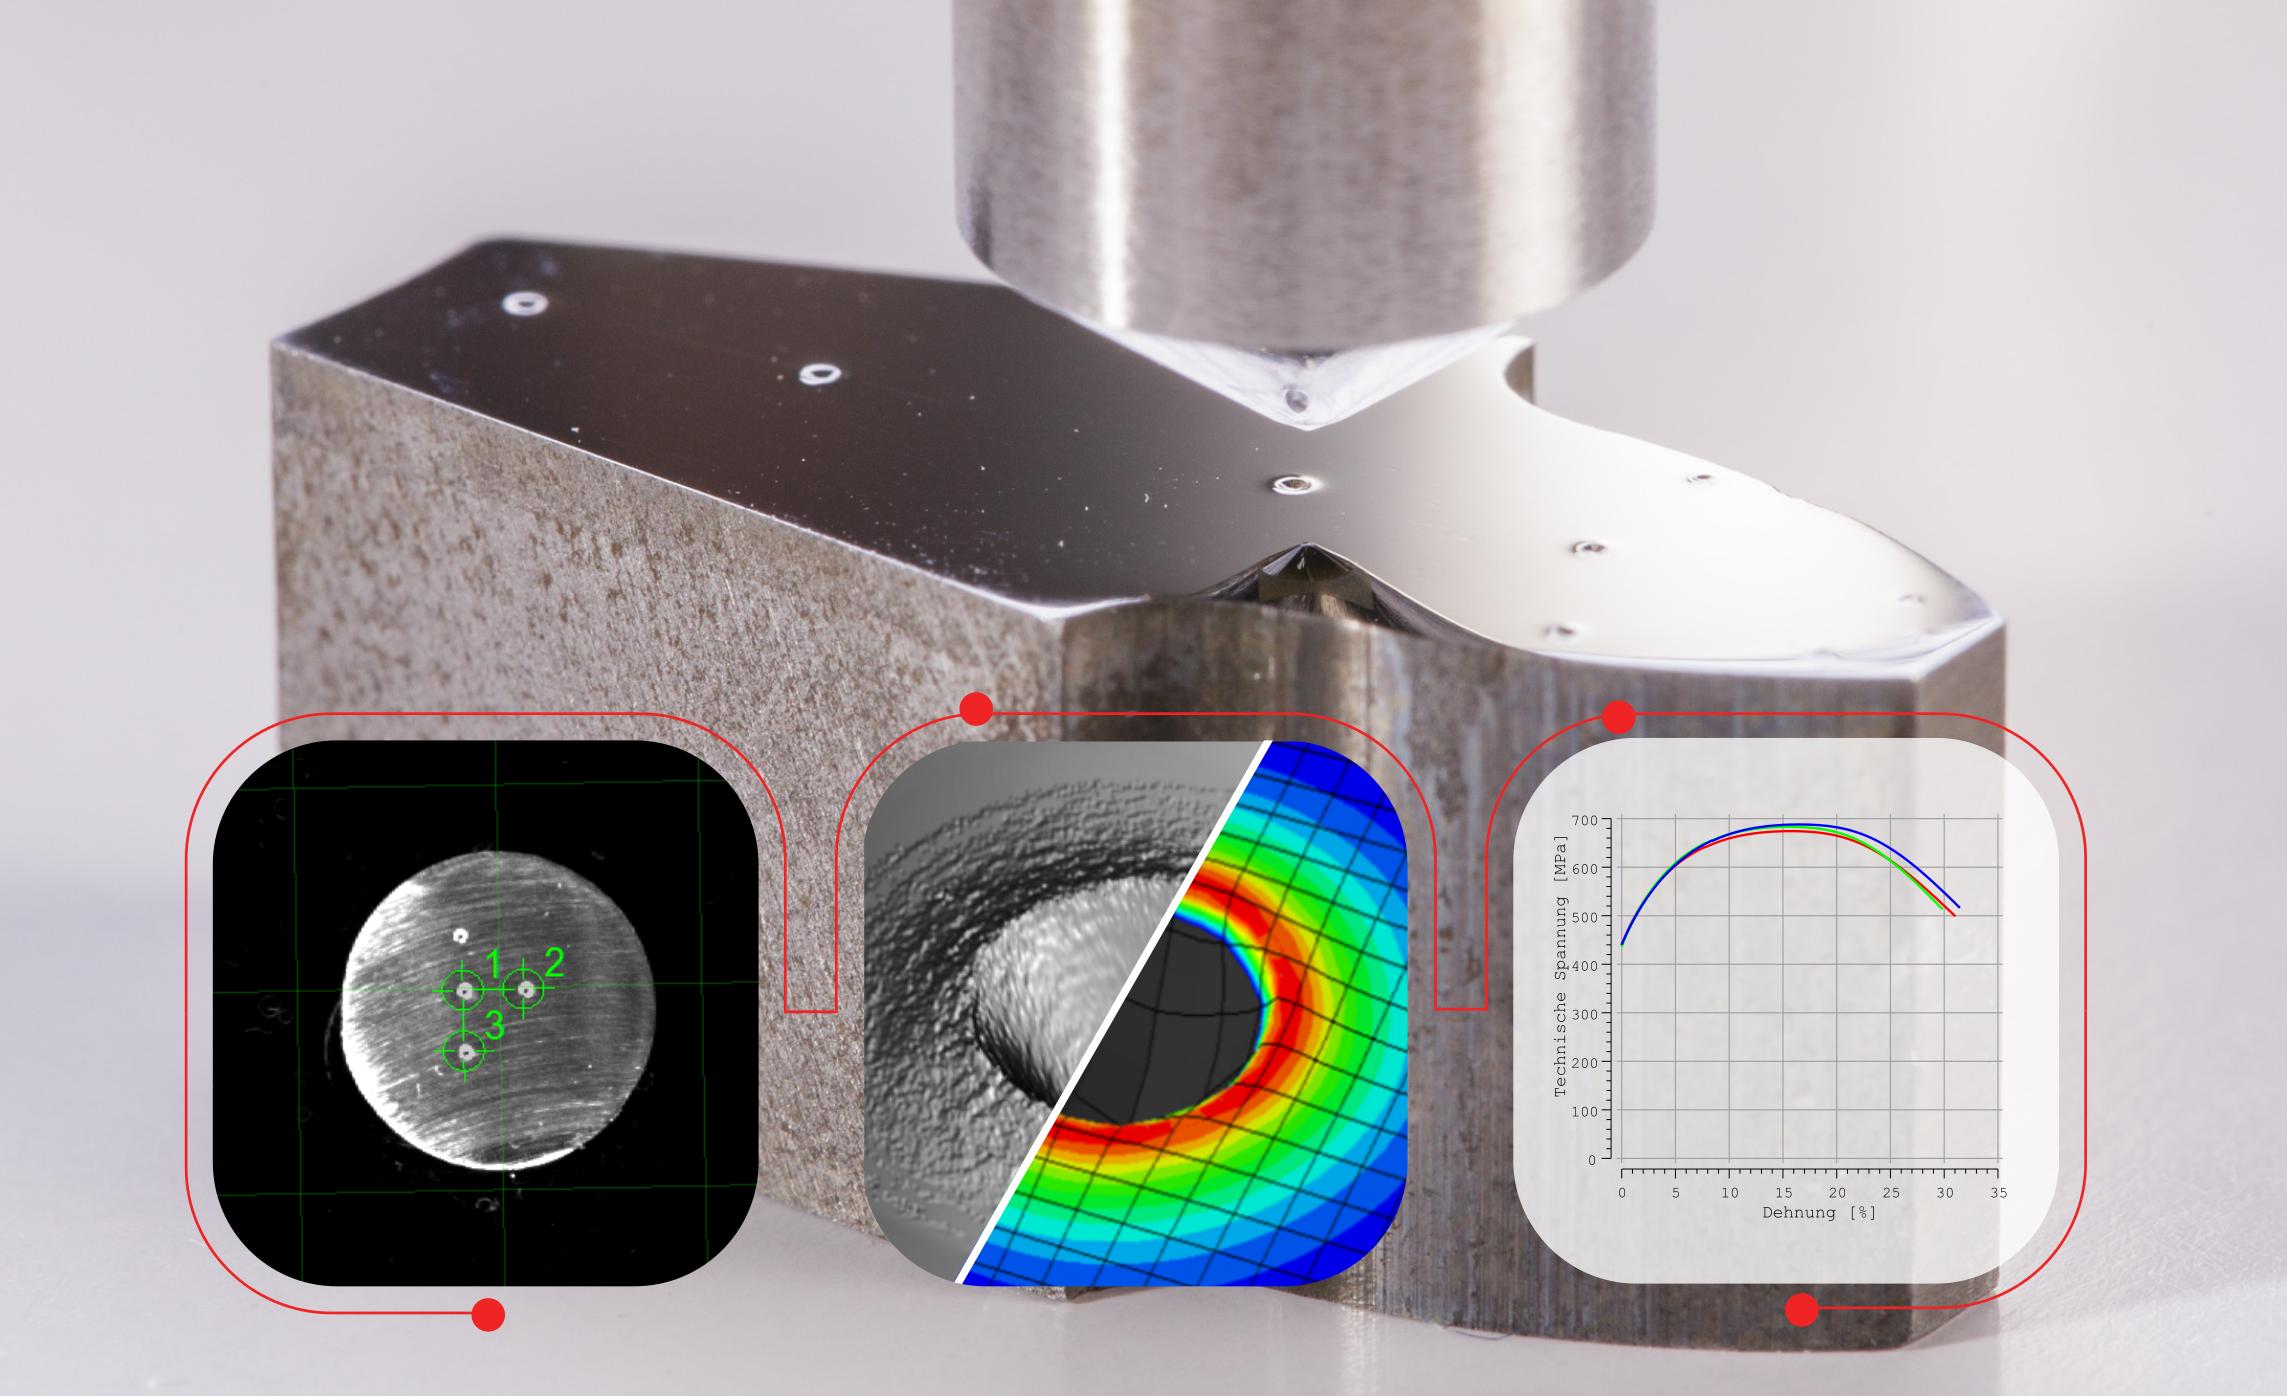
The i3D imprinting process.
DIN SPEC 4864.
Test method for the determination of flow curves and comparative characteristic values for the tensile test by means of non-destructive test indentation, 3D measurement and finite element material modelling
0.2% proof stress Rp0.2 and tensile strength Rm from test indentations
How are these values determined?
It is a software algorithm that calculates material characteristics from the three-dimensional shape of a hardness imprint with the help of FEM simulations.
Is this a mechanical test procedure?
The test imprint is created mechanically by a test specimen, the evaluation is carried out optically by an interferometer and the calculation is carried out digitally by an algorithm.
In the indentation method, only one point is tested. How can the material behaviour of a tensile test be concluded?
The transfer of results of a test point to the overall sample is basically the responsibility of the tester/user. In view of the large number of materials considered, this is generally an appropriate approach.
The following points should be observed:
- If the sample has a gradient in the material properties (e.g. due to surface hardening in steel), the overall behaviour results from the totality of the local material properties.
- Limitations exist with aluminium where brittle fractures of the material occur. An actual match in terms of tensile strength cannot be guaranteed in all cases. A transfer to a compressive strength, on the other hand, can. Here it depends on the actual load the component is subjected to.
- Texture/anisotropy: here an average value of the direction-dependent properties is determined