Comprehensive
quality assurance.
Quality inspection in production, incoming goods and post heat treatment with only one tool.

Challenge.
Mechanical quality assurance methods such as the tensile testing are not suitable for rapid testing in production / incoming goods / final inspection / or post heat treatment due to sample preparation, destructive testing and excessive time and high cost involved. Hardness testing, e.g. according to Brinell, Vickers or Rockwell, is frequently used, but often does not provide the desired results, such as the material’s yield or yield strength or the material’s ductility. Also, the conversion according to DIN EN ISO 18265 can only be used for certain materials, such as quenched and tempered steels.
Procedure.
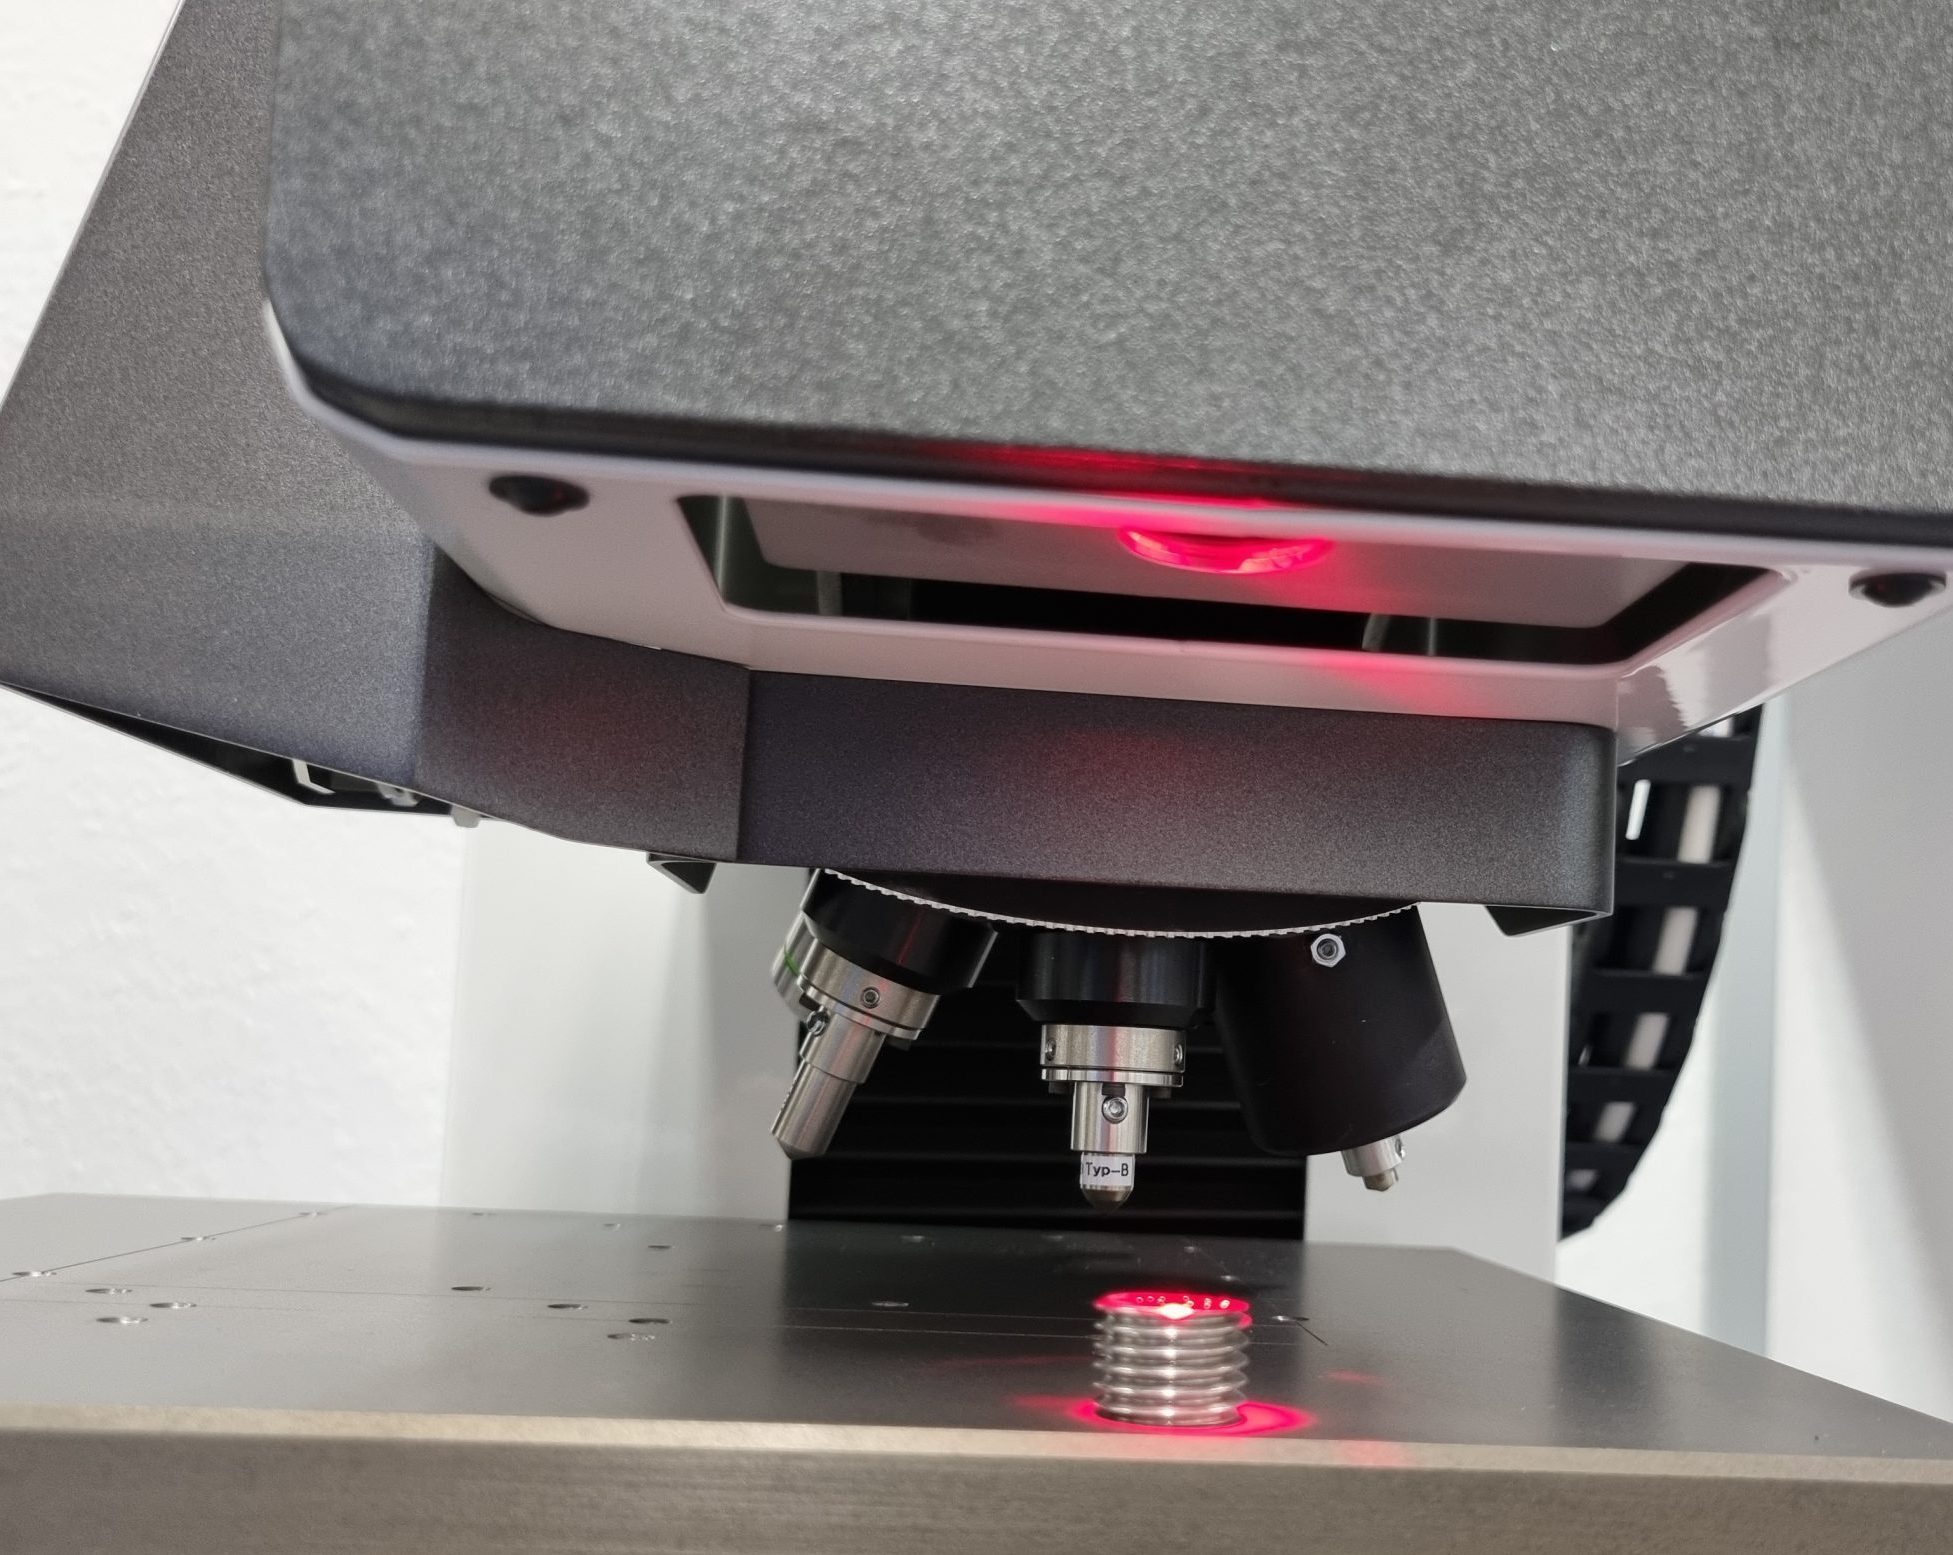
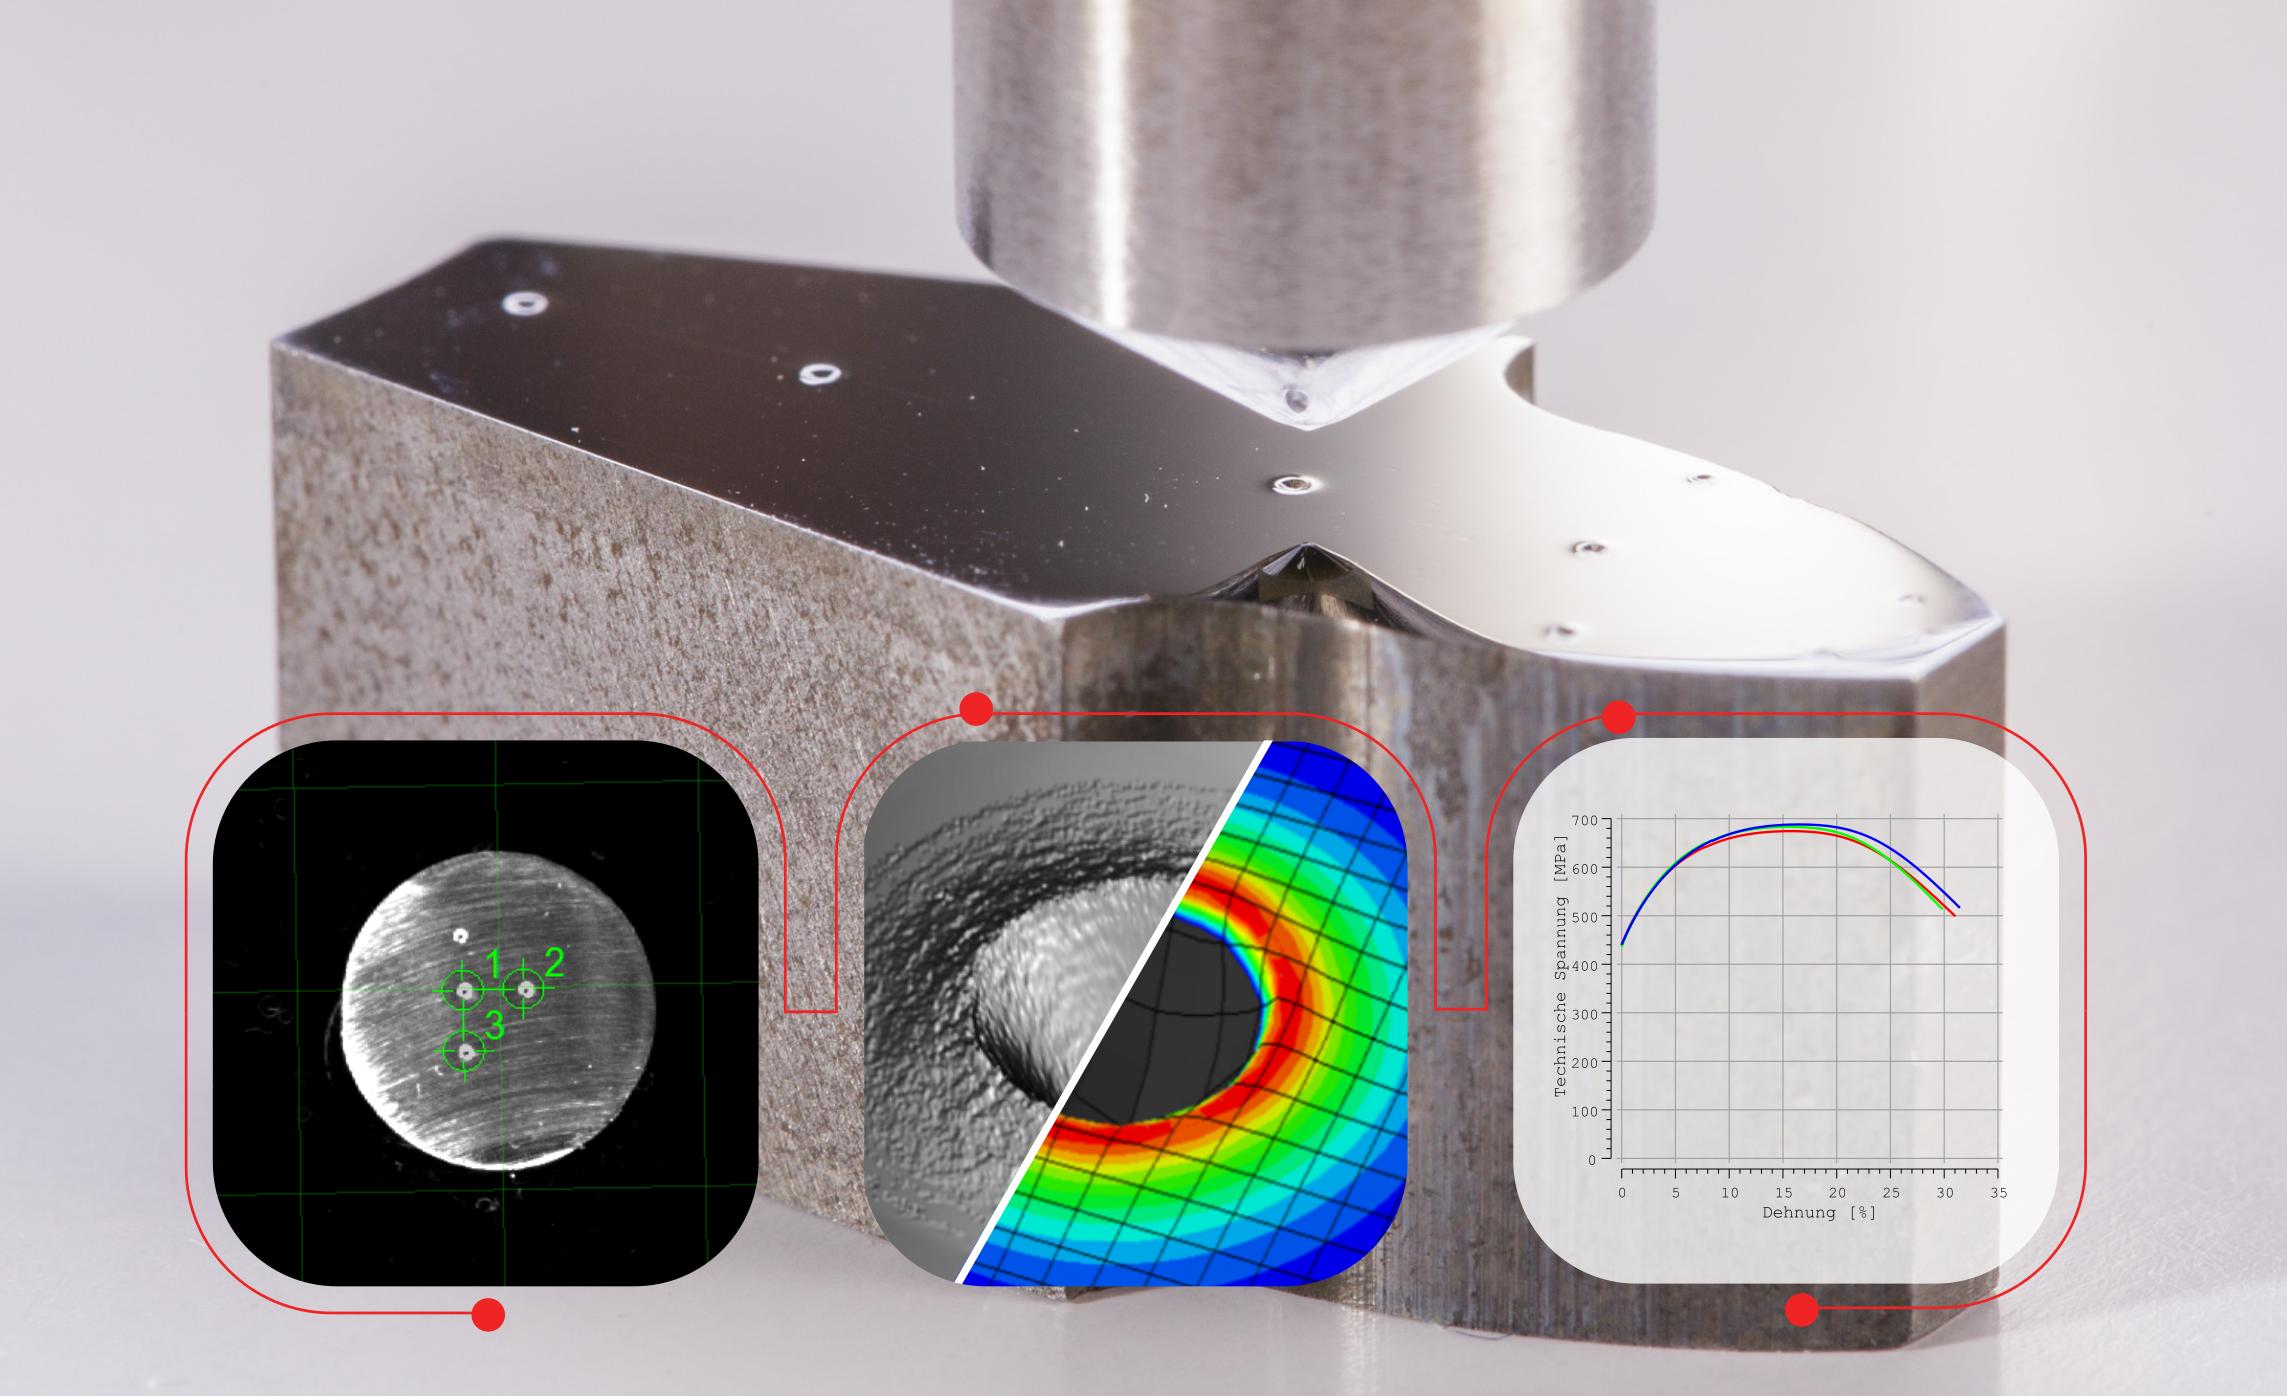
In the corresponding specialist departments, the imprinting process can be used for quick checks of the component quality. For this purpose, the procedure according to DIN SPEC 4864 can be used flexibly and continuously from incoming goods through production to final inspection. The in-process or process-integrated inspection can be implemented in your company. For such purposes, we are at your disposal for corresponding qualification projects.
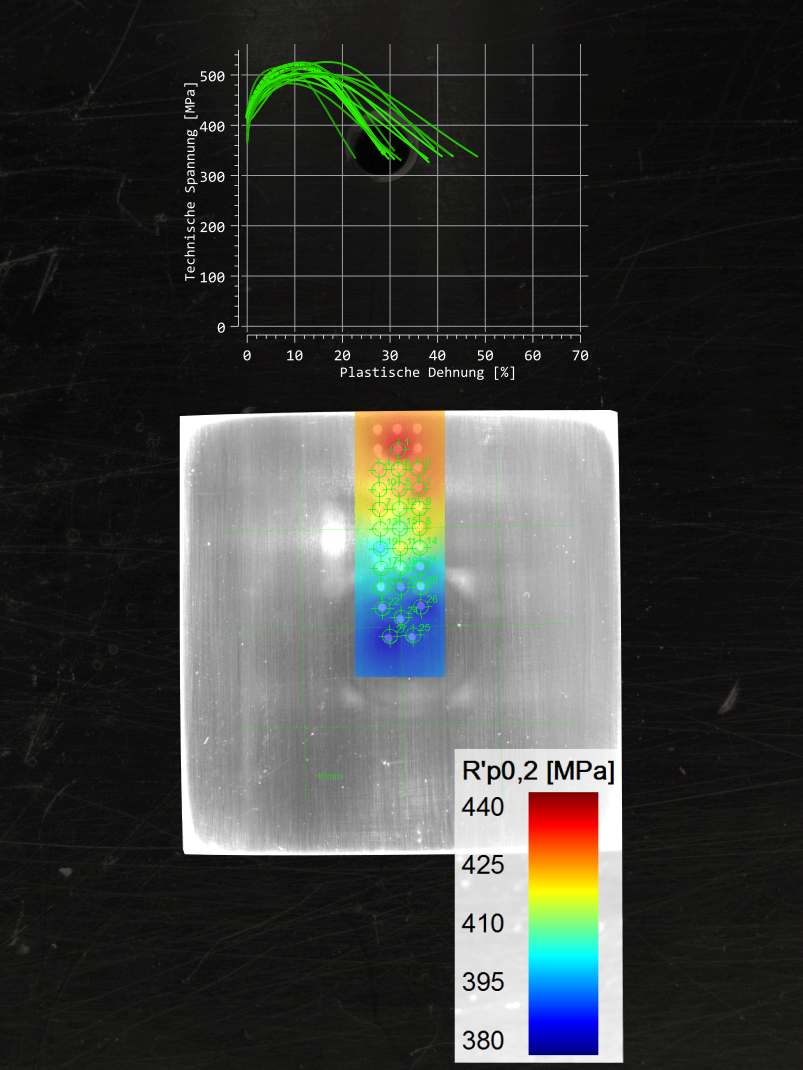
Result.
The indentation method produces measurement results on the mechanical properties of the test specimen. These results and the significance are comparable to the results of the tensile test. The accuracy achieved depends on factors such as the test load, the test specimen and the material class examined. In addition to the stress-strain curve, the user receives the O.2% offset yield strength, ultimate tensile strength and ductility / elongation at uniform strain, as well as qualitatively the anisotropy of the material. The accuracy of these results can then be further improved by the user. A calibration tool is available for this purpose. The actual unevenness of the examined sample as well as the preparation carried out is also documented in the procedure.

Conclusion.
Depending on the specific application, the following benefits can be achieved in quality assurance:
- Incoming goods: Precise determination of the material properties and comparison with test certificates, also with regard to the 0.2% offset yield strength. Subsequent costs due to expensive further processing, e.g. too long machining times, are avoided.
- In all areas of QA, the more precise and significantly faster determination of the material characteristics allows higher safety levels to be achieved in further processing and in the process.
- The avoidance of rejects can be prevented, for example, by early and quick inspection during or after the process.
Our Products.
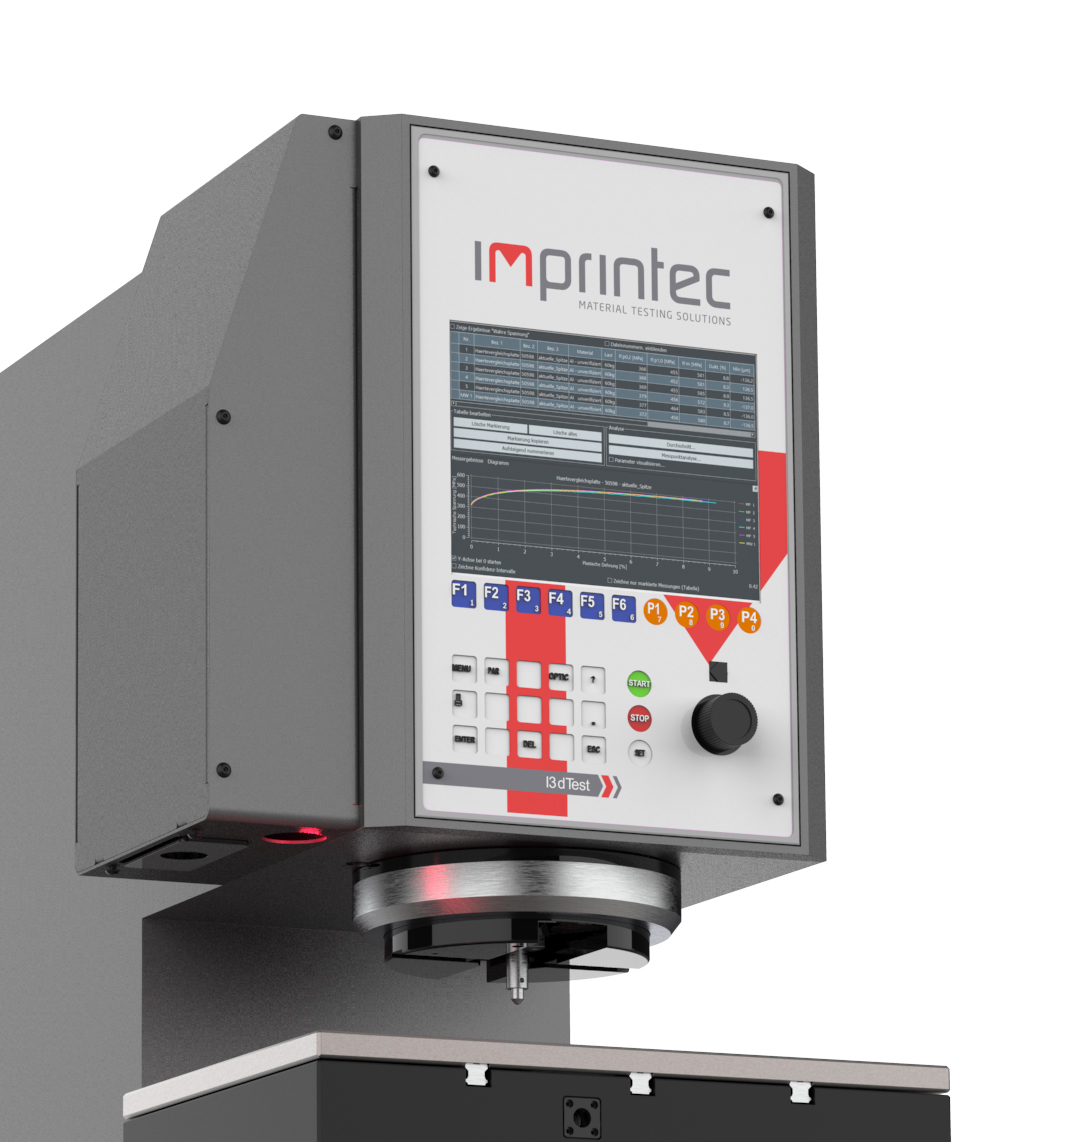
Our testing machines offer the measurement of 0.2% offset yield strength, ultimate tensile strength, ductility as well as the stress-strain curve – with conventional hardness testing on request.
